

There’s a cool Power Platform feature that on first glance makes you want to use it but as you try you notice that it is unnecessarily complex and there’s no real documentation describing how to correctly implement it. As you might have guessed from the topic, this feature is the Timeline Custom Connector. If I knew how much time I waste on investigating this…
Anyway, let’s get to the point. The topic is broad and the documentation is scarce so this will be a series of posts describing how to enhance the custom connector.
What is custom connector for the timeline?
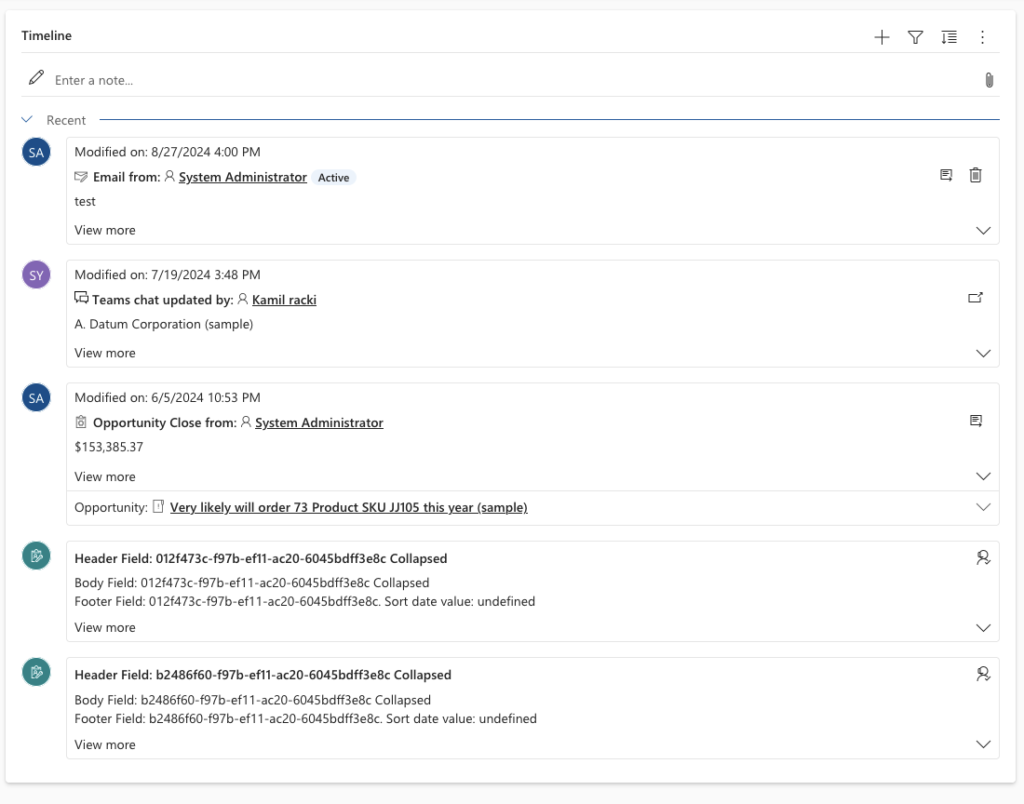
To understand this, first you need to know what the timeline is. This is not a topic for this blog-post so if you want to know more, please check this handy link 👉 Set up timeline control.
A custom connector for timeline allows you to add a different feed to your timeline. Say, you need to display a custom (or OOTB) table in the timeline, or even display data from an external source. The connector is here to help you surface this data on target form.
Scenario:
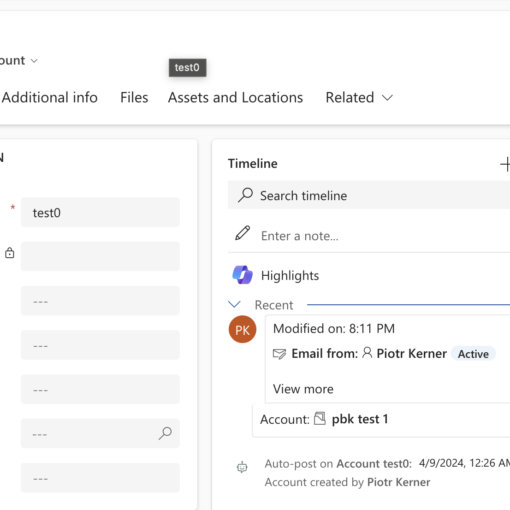
Let’s work with an example: Consider a scenario where we want to surface open quotes related to an account on that account timeline utilising all of the timeline features.
We want to be able to:
- Display related quotes
- Support infinite scroll
- Search for quote
- Filter on quotes
- Create new quotes from the timeline.
Step one: Documentation and interface
Ok, let’s begin with the limited documentation that we have (at the time of writing this article). Go to MS Github page dedicated to the custom connector. You’ll see the same documentation that we’ve seen on Microsoft learn and the same samples that aren’t actually that helpful. What is helpful to a degree is the interfaces.d.ts file containing definition of how the connector should look like. Unfortunately you cannot use it directly as it seems it was copy-pasted from some internal projects and has references to other objects not published/available to us. Without the missing file this will not compile, so first thing I did was to create my own interfaces getting rid of the references to anything that’s not exposed.
In my example this included changing Mscrm.Component to any and Mscrm.ControlData<IRecordSourceParam> to a custom interface IConnectorContext with derived interfaces to make it work.
This will greatly help us with development as we now can leverage the typescript and be sure not to omit any required components.
There are numerous interfaces and enums that will help us in the development, but the primary one is the IRecordSource. It is the interface your custom connector should implement. It has the following methods:
- init – used to initialize the the connector and pass all necessary initial parameters
- getRecordSourceInfo – returns the connector display name
- getRecordsData – retrieves data that will be displayed on the timeline
- getFilterDetails – gets new filter configuration set when users update filtering area
- getRecordUX – creates the actual html that will be displayed for each record retrieved via getRecordsData
- getRecordCreate – Adds custom record create commands to the timeline
Creating base connector
Ok, now that we have everything set up, let’s dive into details. First, we will fill the basic methods, so we can safely run it. There are three main things we should focus on:
- Get records
- Render records
- Filters and sorting
In the init function we will get the context and configuration that we will use later. I will also set up the fetchXml used to fetch the related quotes.
getRecordSourceInfo can just return a string name of our connector. We will skip getFilterData and getRecordCreate for now, and focus on the getRecordData.
Getting the data
Since our scenario focuses on quotes we need to fetch them from Dynamics, but you can easily use other ways to fetch records from external sources. For my example, I will use the simplest method passing fetchXml to the query. We will use the Xrm.WebApi, so before we begin, we need to run npm and install @types/qrm
npm -I @types/xrmHaving that, we can easily call the Xrm api and get the records by calling
let quotes = await Xrm.WebApi.retrieveMultipleRecords("quote", "?fetchXml=" + this._fetchXml);After everything our code should look like this:
Let’s now add the code that handles rendering of our components. This should look like the snipped below. Please remember to declare the icon in the module. Also I’m using _context as my variable, and the example uses context. Since we’re fetching quotes we should have quoteid instead of id in getRecordUX
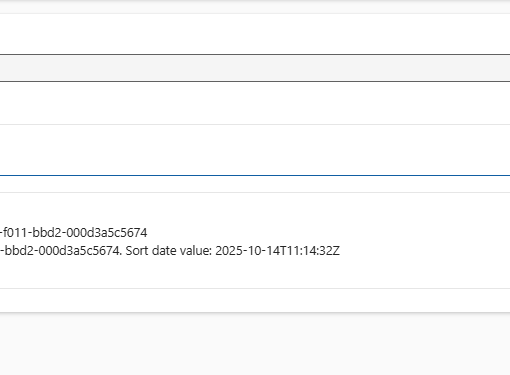
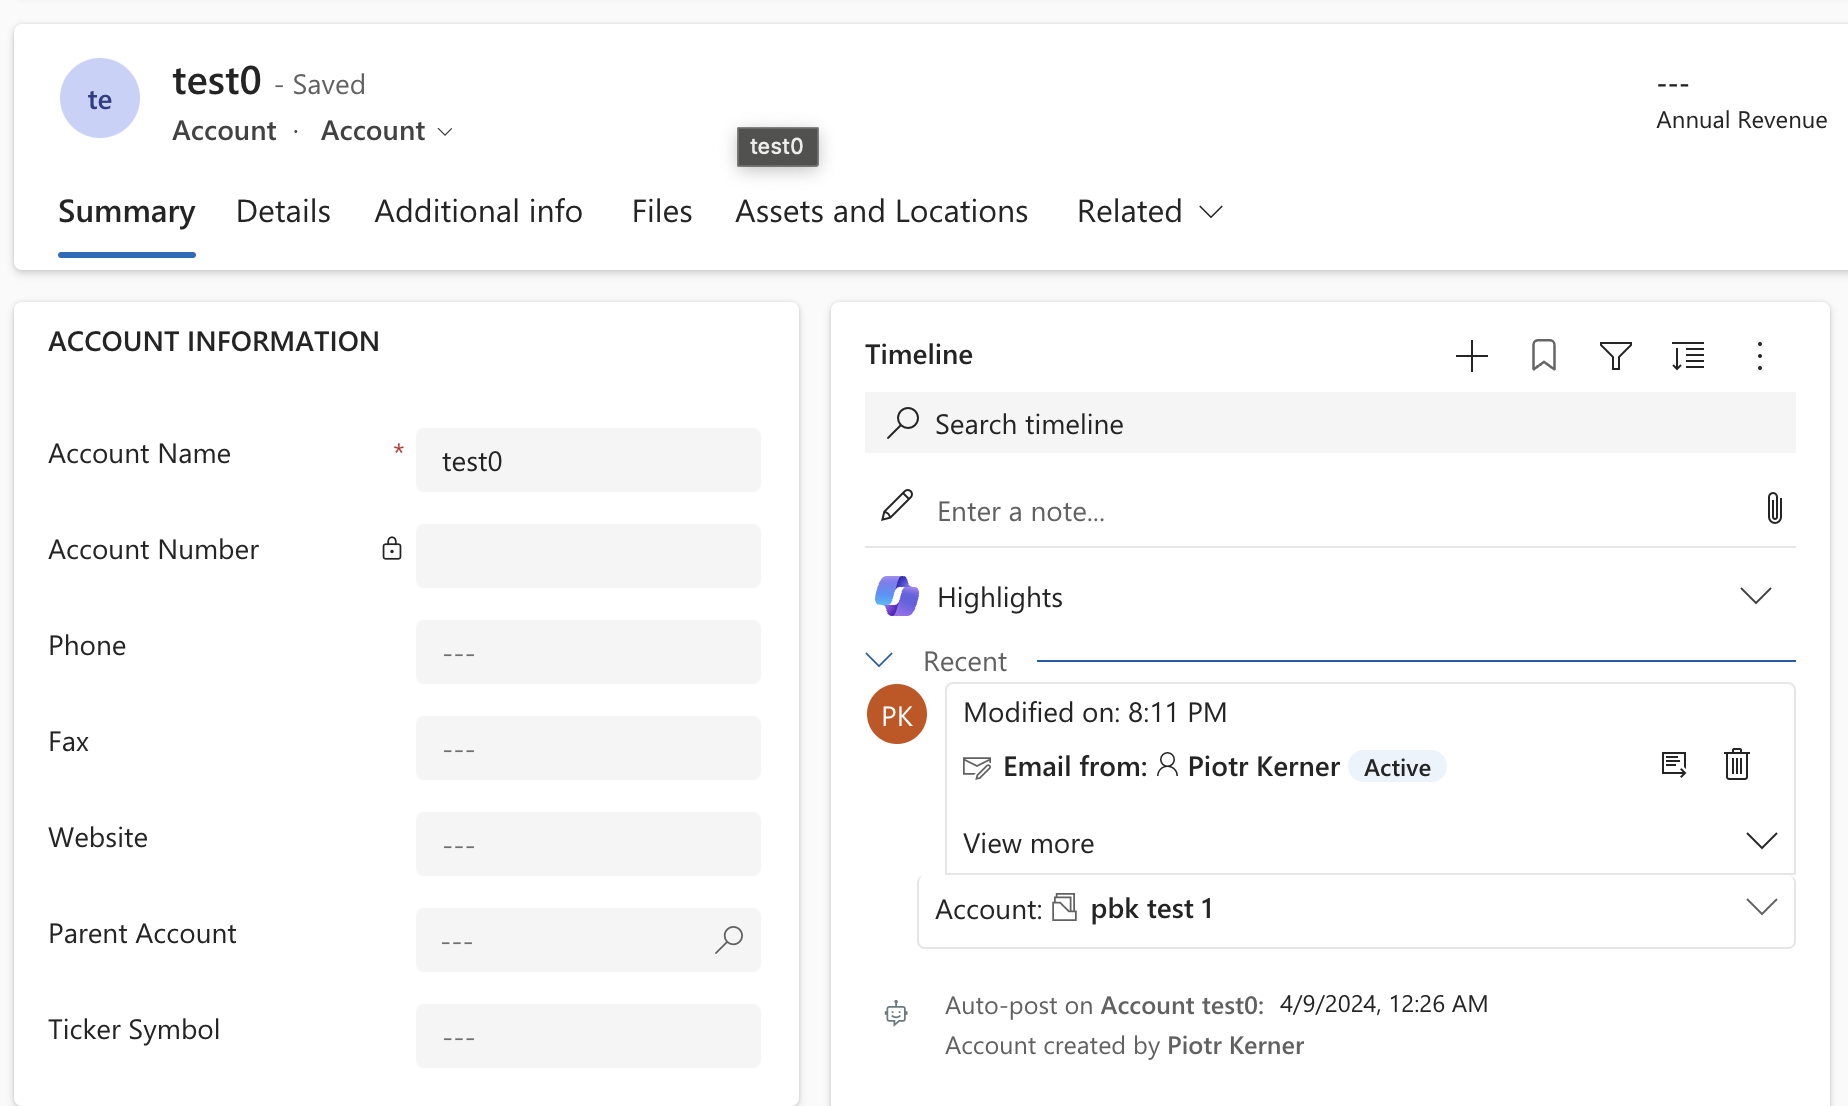
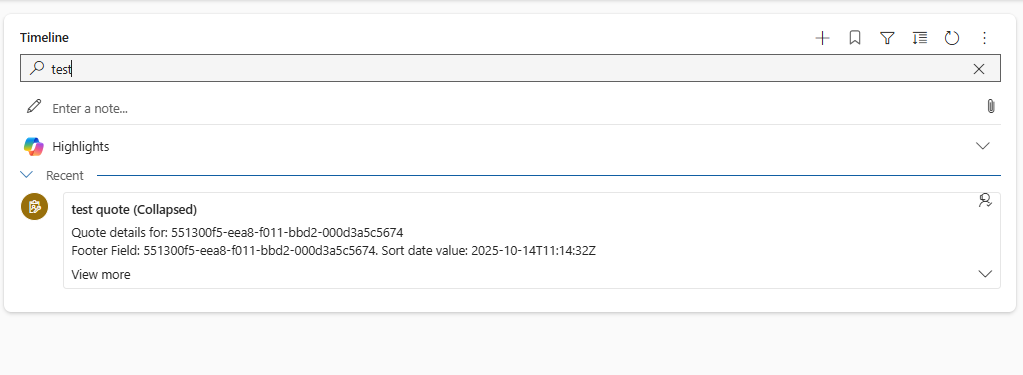
After publishing everything, you should get something like this:
Not very nice looking but it works! We will focus on filtering records and styling in the next articles.
Happy coding!
